

Architecture, Conceptual
Post-Production Rendering: Before & After
Through the fog of the last term of architecture school, I realized I didn’t have any photorealistic renderings in my portfolio, and so, I dipped my toe in to explore what it takes to convert an image from barren to believable. What does it take? Boatloads, and boatloads of post-production.

July 11, 2011
Committing to Photorealistic Rendering
As the end of architecture school finally approached this spring, through the fog of the last term of my Terminal Studio, I realized that while I had plenty of handwork and computer-hand-hybrid work in my portfolio, I didn't have any photorealistic renderings. And so, my first foray into photorealistic rendering production began. Rather, that is, my first foray with serious intention of actually using the output in a presentation. I'd rendered scenes out of Revit before, and used various engines to render out of SketchUp, but I generally found the output massively underwhelming. But, of course, any direct output from a rendering engine is likely to be cold and stiff, even barren and deserted, depending on the amount of entourage and landscaping in the 3D model. So, I had exiled photorealistic renderings from my projects, because in the destructive time crunch that is architecture school, I just couldn't bank on there being time for the amount of post-production work this type of rendering required. But, in the home stretch of architecture school, while miserably trekking ahead on a project I loathed, I figured: why not try it this time, maybe something good will come of it. For my first shot, it's not bad. But, what is really edifying, is looking back at the difference between the straight output from the rendering engine and the finished work. In the end, no matter how awesome your 3D model, it's the post-production rendering that really makes an image sing.
Before & After
Below, I've put together an group of images that demonstrates the conversion of my project’s renderings from “look at this creepy ghost town,” to “well, at least there are now people, trees, and weather.” The column on the left is direct output from SketchUp using V-Ray, and the images in the column on the right are the same images, after I spent a little time augmenting and adjusting them in Photoshop.

Before & After a Little Help from Photoshop
There are a number of factors that influence how barren the direct output from a rendering engine is: not least, are the power of the computer, and the time available to render. In this case, I was working with limited time on a MacBook Pro with some upgraded specs. But, I also needed to be able to use the computer while it rendered. So, having objects as complicated as trees in the modeling program was just not an option. Unfortunately, it would have helped tremendously if they could have been rendered, especially in terms of their impact on lighting and shadows.
Despite my ongoing underwhelmed feeling for them, it was a successful venture for being my first real try at it. They came a long way, and had there been more time to play with post-production, they'd have come even further. At any rate, I've certainly become much more friendly with Photoshop because of it, and, let's be honest, being BFFs with Photoshop is always a plus.
Update
March 13th, 2013
I decided to update the rendering of these three images a bit for their pages my portfolio. I already have a complicated relationship with this project, and I just couldn't stand to look at the renderings like that any longer. On the other hand, I didn't want to invest more of my time on a project that wasn't my favorite. So, I split the difference, and made some mild adjustments to the renderings.
A Little More Help from Photoshop
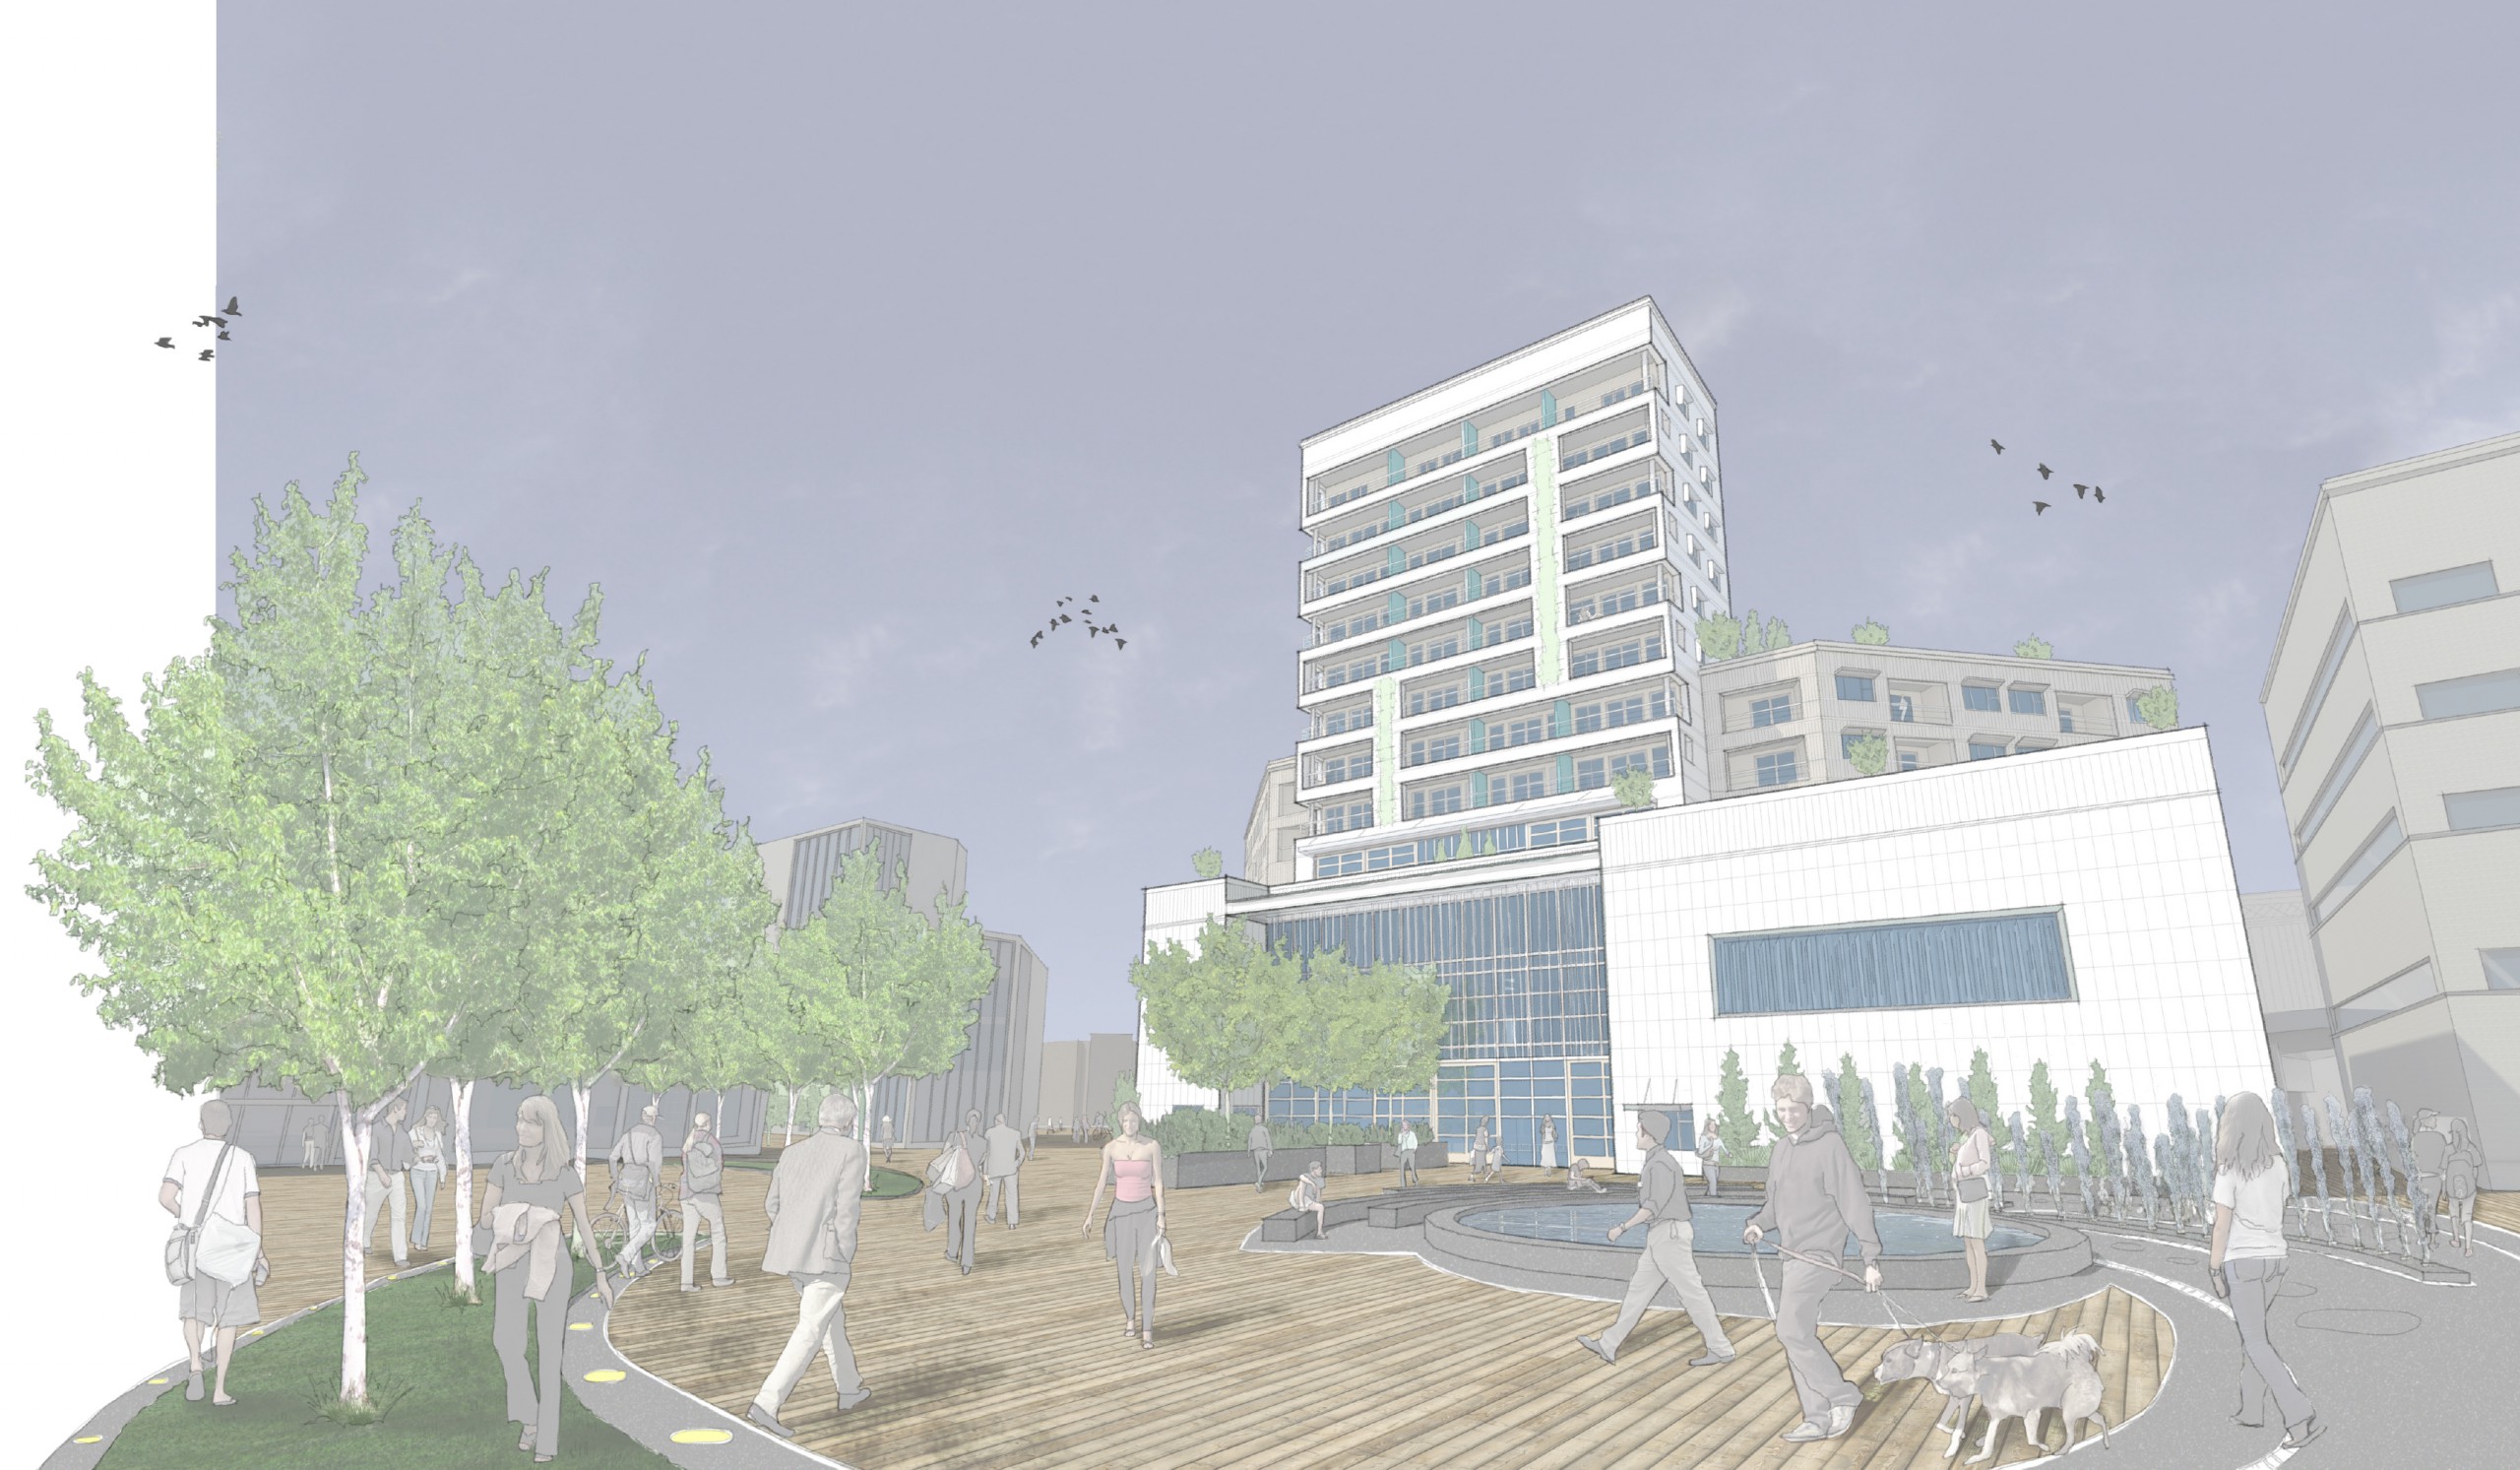
In this iteration of the rendering, I added some design features that I didn’t have time to deal with before, softened the overall feel, and added some hand-sketched linework. This, of course, moves the image away from the photorealism that I had originally sought, but it is better suited for the state of the particular project.
The first image is the only one that was greatly adjusted: it is now a gentle mixture of "hand" rendering with the photorealistic underlay, and has some design elements added that were not present in the earlier rendering. The other two renderings have just been shifted from color to black and white, which helps the three renderings coordinate better with the other media in the project. Of course, you can explore all that and more, over on the portfolio pages for the Lovejoy Arts Alliance on the North Park Blocks.


